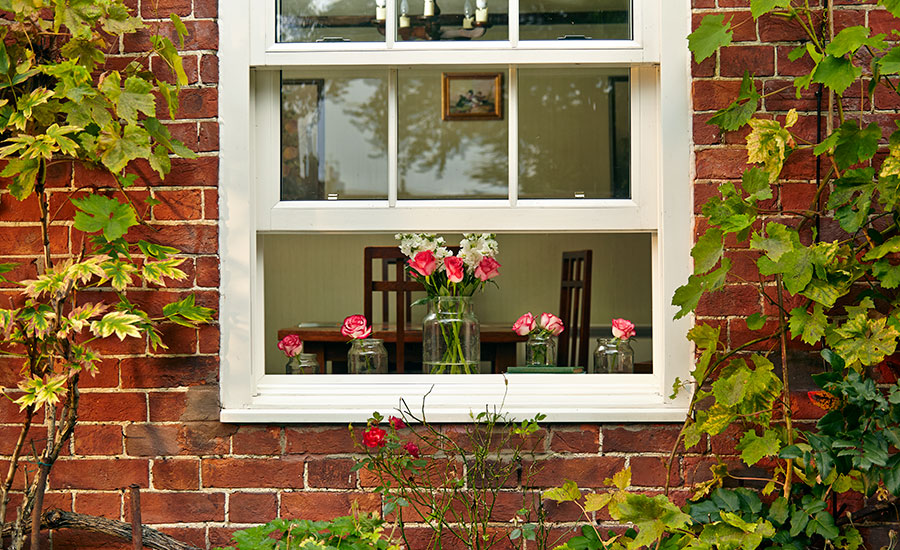
Wooden sash windows are beautifully designed and are one of the most aesthetic windows. These windows are carefully crafted and polished in multiple shades of brown and sometimes even black or white. Wooden sash windows go best with naked brick walls, which truly bring out the aesthetic of these windows.
European households are known to prefer wooden sash windows, but these can be seen all around the world. If crafted adequately with the right type of wood, they can last even decades if maintained.
Traditional sliding sash windows are commonly used in many households and apartments, but they also come in different designs. Venetian-style sash windows feature a design in which the outer panels are fixed while the center panel slides open. Hidden sash windows are much like the traditional windows but with double paneling. This prevents them from creating noise owing to the spring; while being just as strong.
While these windows are string and aesthetic, they still need maintenance and repair. From republishing to reapplying glue or replacing the sliders. Just like every other household item, they need to be maintained and looked after as well. So here is what you need to know on How to repair wooden sash windows.
Pre-treatment
Pre-treatment is a necessary step if there are signs of damage from water. To check if it is needed, you will have to look at the lower sash’s bottom rail. If the bottom rail shows signs of wear, you will need to apply pre-treatment.
While applying pre-treatment to the bare wood, you will have to pre-treat both of the faces of the sash; muntin bars, and muntins. While using consolidating oil, be sure to put it within the glazing rabbets and each joint. It is essential that the end grains of the wood are also treated. After applying pre-treatment, leave it to dry.
Smoothen the wood surfaces
To get the best feeling from wooden sash windows, it is important to sand them. This way, they will look smooth and compliment the polish as well while having a good feel. Use sanding paper to smoothen the rough surface of the wood and remove nibs and whiskers.

Priming
While using prime, be sure to touch every surface except the edges and face margins. If the glazing rabbets were pre-treated, do not prime them unless they are dried thoroughly. While priming the glazing rabbets, you should start from the joints.
Use a brush and scrub the primer to each joint and allow it to soak it thoroughly. This will seal the joints and give a better finish when dried.
Sanding after priming
When the primer has dried up, you will sand the surfaces to make sure all the surfaces feel smooth. If, during sanding, any is left bare, be sure to apply the primer again.
Bedding the pane
When the wood has been completely dried off and the panes are fitted in place, arm the putty using your hands. Use your hands to carefully bed the putty in the glazing rabbets of your sash. When you have applied the putty, start placing the glass panes. Be sure that the bottom of the glass panes is perfecting, resting on the lower glazing rabbet.
When the glass panes have been placed on the putty, tap or shake the panes so that they get a good grip on the putty. There should be enough putty applied that some of it squeeze out a bit when the glass panes are paced. This will help cushion the glass in place.
Glazing points
If the panes you used were smaller than 6”, you will have to place one point per edge. While on larger panes, you will be placing points away from the corners. Every two-point should have at least 8″ of the distance between them.
The point should in placed flat into the glazing rabbet and then appropriately shaken afterward. You can use a point driver to place the points much faster.
Face putty
Get a handful of face putty and start placing it around the sash. You can use your hands or use a putty knife for this. First, be sure to pack the putty into place by using the putty knife. Then, jiggle the putty knife to force the putty where it sits best.
After placing the putty into place, use the putty knife to scrape off excess putty from the edges of the sash. This will form a good and smooth surface while sealing around the glass panes and wood. Enough putty should be applied that when the glass is placed, there should be some on the other side of it as well.

Polishing and cleaning
When you are done tooling and placing the glass panes into the putty, you will be applying polish to the sash. First, clean the oil from the surfaces of the sash and dust off any dust from the putty, and this will help it dry faster.
Grab a paintbrush that has soft bristles and touch it with a good amount of dry powdered whiting. Start dusting off the panes from the top glass and gradually work yourself down to remove any whiting or oil from the glass.
Be sure to remove any oil or whiting and wear gloves to avoid touching with oily fingers. Use the brush in diagonal strokes to get the best result.
Tool the putty
After applying the dry powdered whiting, tool the putty to remove any extra putty from the glass panes.
Curing the putty
After whiting, the inside of the panes is put aside to allow the putty cure and seal. Be sure that the sash is placed in a stance that does not disturb the putty.
Painting the sash, you will start by brushing the outer sash by applying two coats. Next, slighting paint any crevasses between the glass and the paint to prevent any water from getting in. be sure you use high-quality enamel paint so that it lasts longer and gives off a good texture after drying.
While using acrylic paints, be sure to scrape off any paint from the edges and the sides. And be sure to prevent the paint from touching the rails.
Conclusion
This is your guide to repair and maintain your sash windows. Sash windows look beautiful even after decades of use. Just be sure to maintain and check them for damage from rainwater.